Scamp Init
Project inception for SCAMP (Super Complicated Ai Mission Payload)
Background
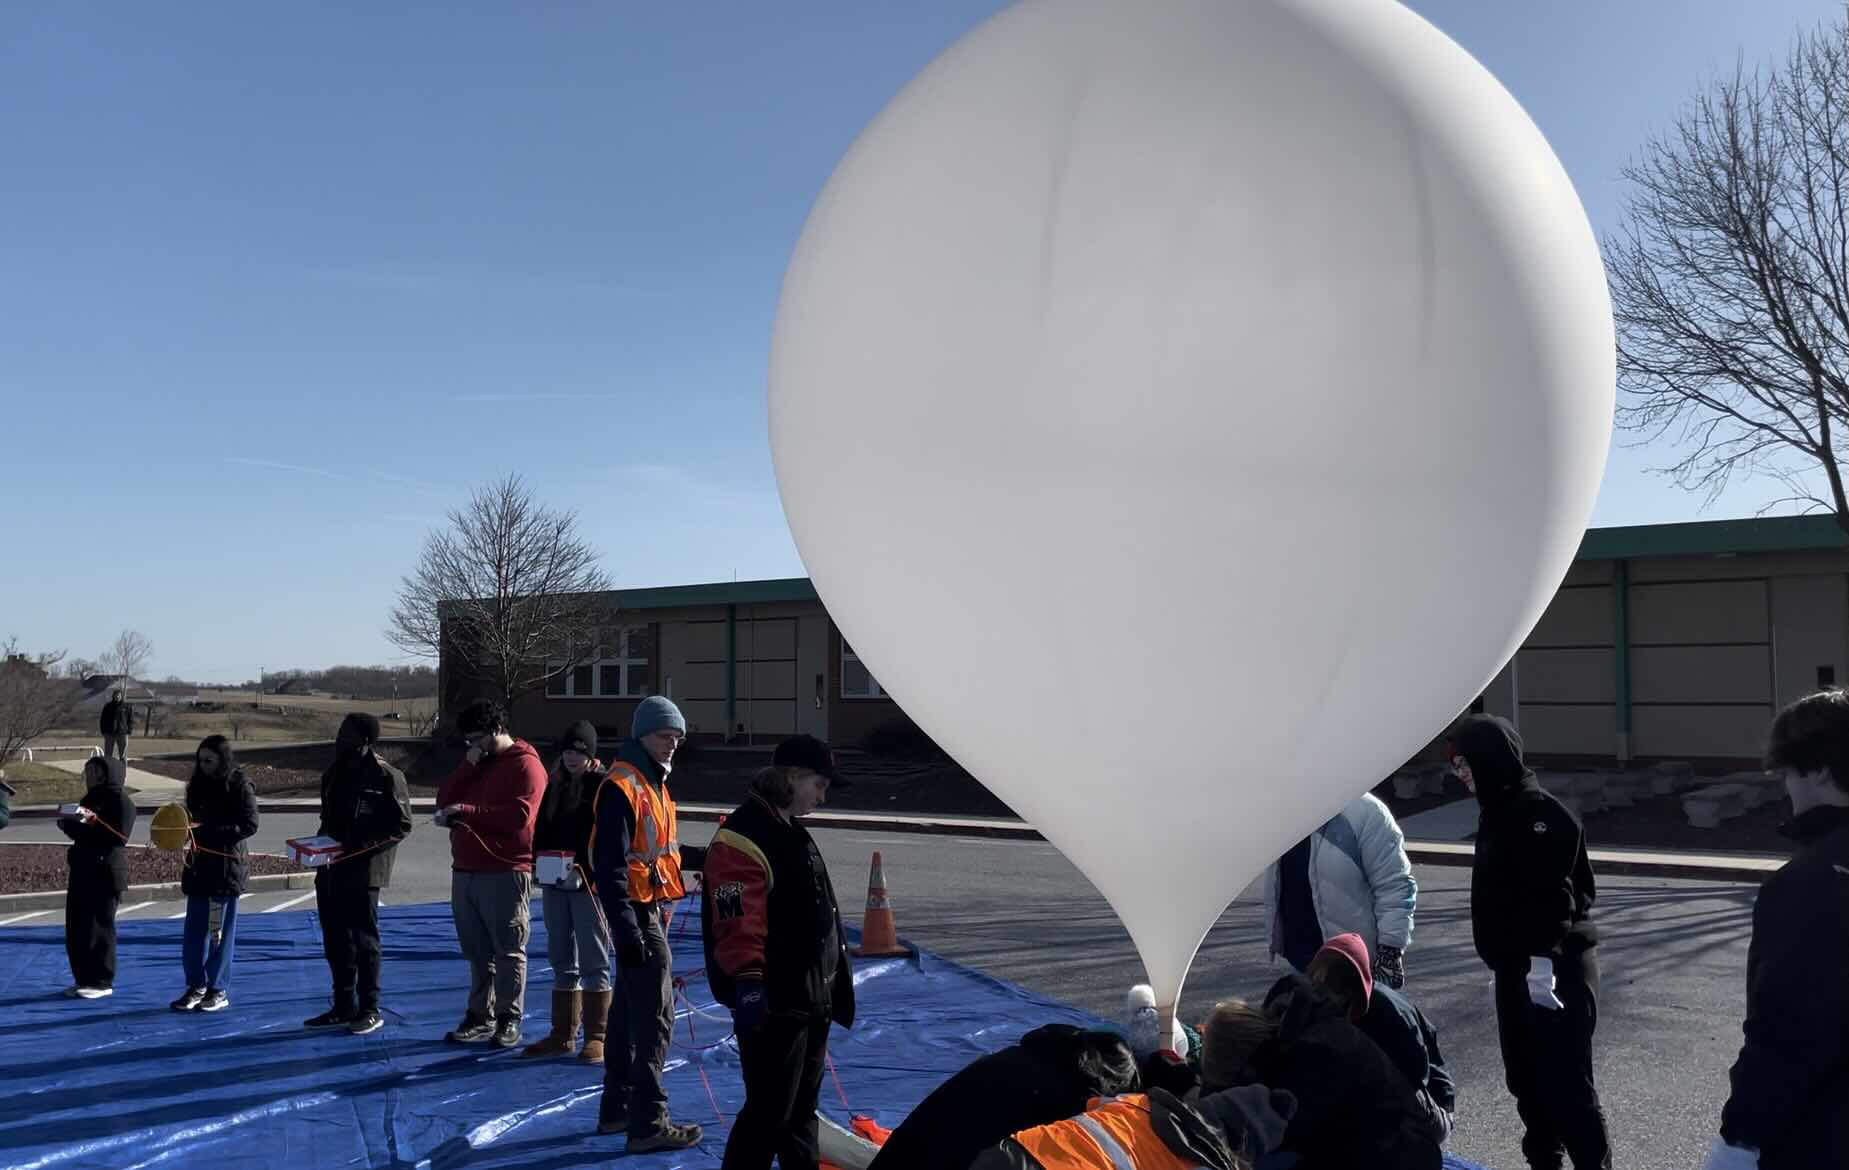
I got to go to my first UMD Balloon Payload Launch ever!! I got to learn about how the launches work and how payloads are launched. I got to help out with tie-on and learn some of the knots that they used for securing the payloads to the flight line. I also got to watch the balloon actually launch. Other than the fact that I woke up super early, it was super awesome.
That is when I decided, I want to make a balloon payload and launch something before I graduate. There was a slight issue with this plan however, I had no idea what kind of payload I would make. I had many ideas but they were all shutdown since they were deemed as a waste of helium. I finally landed on something however that was perfect for me.
I can just fly neural networks and do it with real flight software. This way I can prototype and validate custom neural networks at the edge of space with real flight software that is actually used on space crafts.
Super Complicated Ai Mission Payload
There is a running joke at the Space Systems Lab around the acryomn / name SCAMP. Dr.Akin said that it can be used for practically any acroymn ever and honestly, he is right. So SCAMP (Super Complicated Ai Mission Payload) was the name of my payload.
Now that I had a name, I just needed to start finding parts and figuring out how to put this all together. Since this was my first project where I had to do everything by myself, I knew I was in for a crazy learning curve. Regardless, I pitched my payload and it was not shot down which meant it was finally time for be build the damn thing.
Part Selection
The most important component for this payload is the computer. Since I had many lying around, I went with the Google Coral Dev Board since they had a tensor processing unit in them already for running AI models at the edge and were relatively low power. I also picked a random power bank that I had lying around from some kinda career fair and a cheap usb camera I found on amazon for 10 bucks and I was set!! The rest of the stuff I picked up from the lab and club’s collection of random stuff.
Next Steps
Now that everything was approved and good to go, I just needed to actually get to work and start figuring out how I was going to assemble this payload.